
The first method introduced required the use of 100% cotton, silk or bamboo fabrics that had been prewashed. This was a good technique with which to start as it involves dipping your fabrics into a solution of water and Bubble Jet Set and they must be completely dry before the next step.
 Gunnel used a kitty litter tray for a nice low flat bath.
 Coral Dipping her Fabric
Several pieces of fabric can be done at one time.
 It was a beautiful day so we were able to move the drying racks outside where they dried quickly in the hot sun and gently blowing wind.
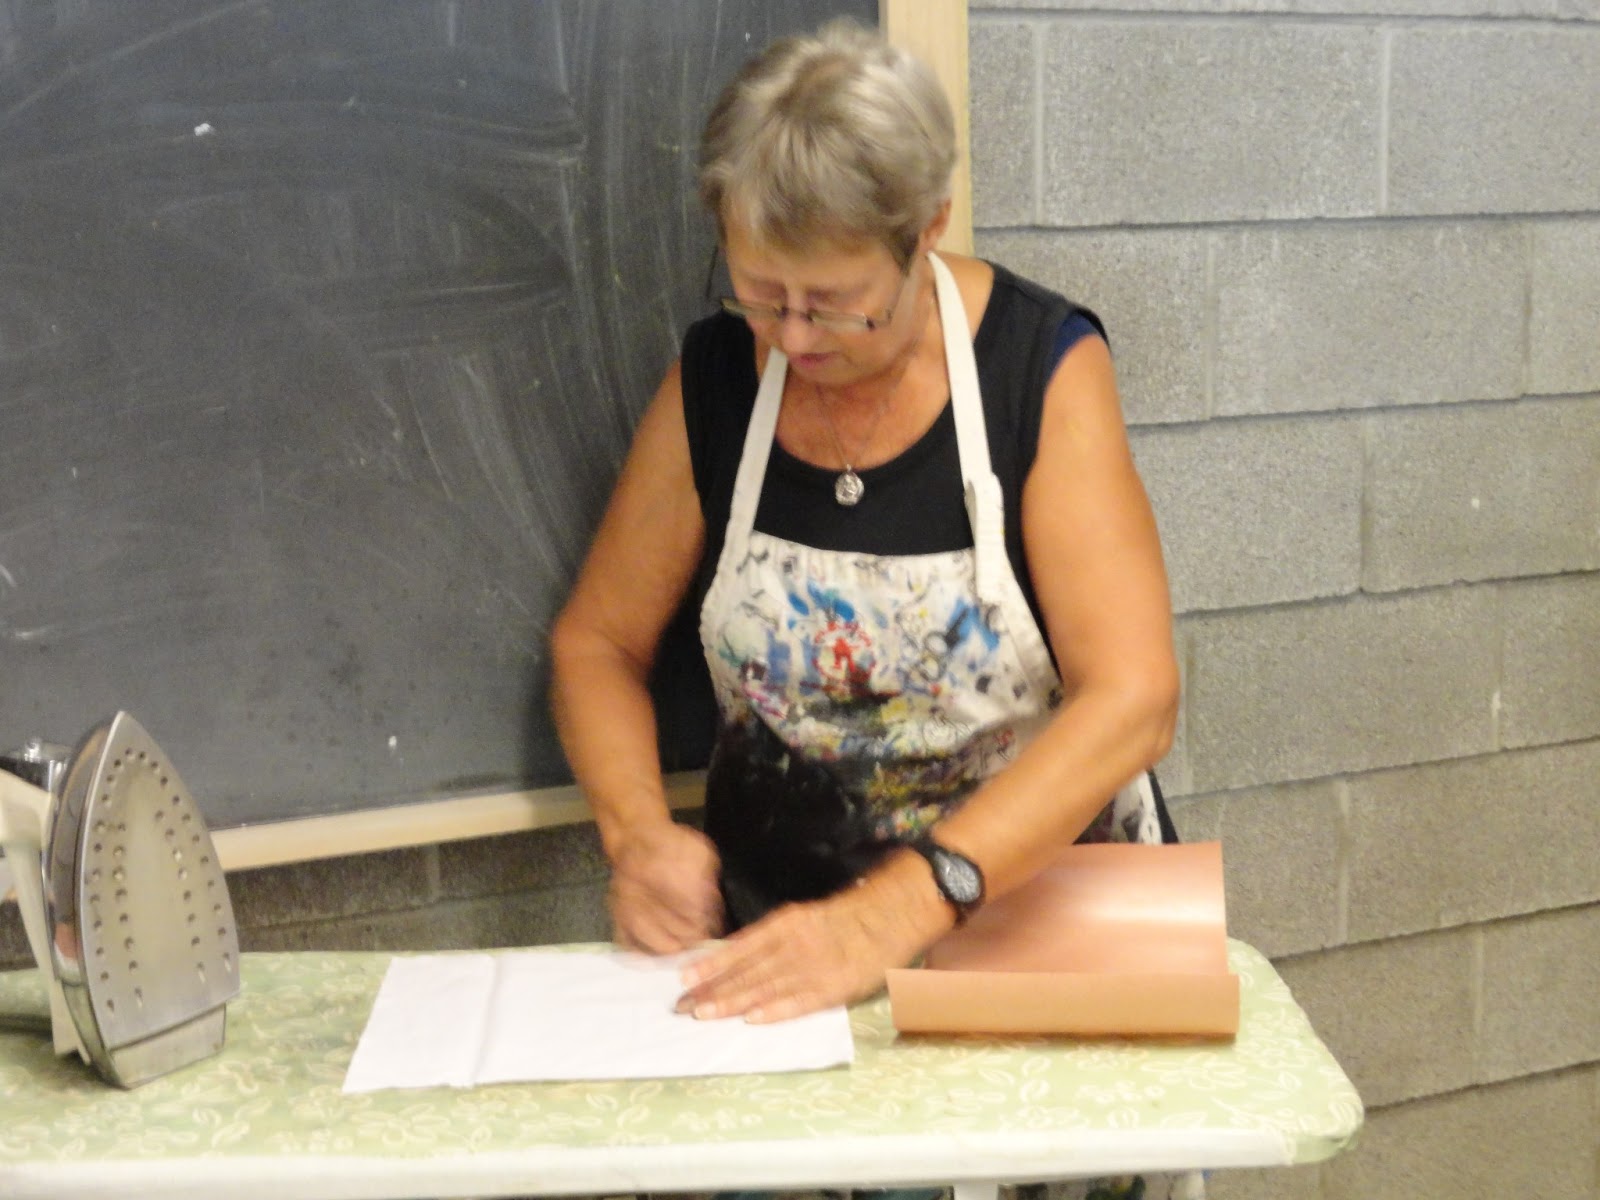
Once the treated fabric pieces were dry, we ironed them onto a piece of butcher paper (freezer paper) wax side up. The cloth and the butcher paper were trimmed to 8 1/2"x 11" to fit going through the the printer. The top corners of the paper were snipped and any loose threads needed to be carefully removed so that it would go smoothly through the printer.. You can now print a picture directly onto your fabric.
Results of this technique:
 Leslie McGrath has a wonderfully creative eye for photography and her result is a lovely close up shot was taken through a flower with the sun shining through. She has reminded me to look more closely at details in nature when taking pictures.
The second technique Gunnel demonstrated involved using a gel medium. This process involved printing a black and white copy of one of your pictures off the computer and then making a photocopy of it on a laser printer.

This gel medium was well coated on the face of your picture. It was then placed on your fabric smoothing it out from the center. Then, using a brayer, press hard from the center to get all the air bubbles out. This is very important as you will have spots where the picture lifted of the material as it dries.

Once this process is complete, it must also be completely dried before taking the next step. Gunnel recommended leaving it for 24 hours but demonstrated the next step using a prepared sample.

With the picture side up, everything has to be sprayed wet and the paper rubbed off to reveal the picture transferred to the cloth.
Many of you will likely be familiar with the last technique we used. This is using Inkjet Light Transfer Paper that can be used with White and Light Coloured Fabric.A picture from your computer is copied onto the transfer paper so that the image is not on the unlined or non-glossy side. You may need to flip the picture, especially if there is writing on it. You then press the image onto the fabric and peel off the transfer paper having transferred the image to the fabric. My results were not so good using this process but Coral and Leslie both got a good transfer.


Leslie's wonderful picture is the base of a palm leaf. I just loved it!
Of all the techniques my favourite is the Bubble Jet System. It blends into the fabric most smoothly with no textured layer. Precoated cotton, linen and silk fabrics can be purchased from Jacquard Inkjet Fabric Systems if you don't want to mix the chemical solution yourself.
Thanks for this summary. I never knew there were so many ways to put images on fabric. It's nice to be educated.
ReplyDelete